I love making my own things, so I wanted to explore how long does infused olive oil last AND give you my DIY-infused olive oil recipe.
You know what’s fun? Taking a few simple things and turning them into something entirely new and awesome.
Though that’s fairly cryptic, it’s not meant to be.
All I mean is that with just a few simple items you can DIY your way to something new, healthy, and interesting. And sometimes, as in the case today, it can even be gifted.
How Long Does Infused Olive Oil Last [+ DIY Herb-Infused Olive Oil]
Click HERE to save this article on how long does infused olive oil last for later.
![How Long Does Infused Olive Oil Last [+ DIY Herb-Infused Olive Oil] agutsygirl.com](https://agutsygirl.com/wp-content/uploads/2020/12/How-Long-Does-Infused-Olive-Oil-Last-DIY-Herb-Infused-Olive-Oil-agutsygirl.com_-683x1024.png)
Let me get straight to the point before I share with you my DIY herb-infused olive oil so that you know how long this crafty idea will last.
According to California Grown,
Infused olive oil with removed ingredients will last up to a year or more if you store it properly – that means away from sunlight and in cool temperatures. It can last for 2-4 weeks in airtight glass jars or bottles at room temperature and up to a year in the refrigerator.
The best preservation includes:
- storing it for a longer period of time in a cool, dark place
- storing it long term in a pantry or cupboard without exposure to light and heat which can cause rancid olive oil
Now that we have the basics covered, let’s dive into even more.
Olive Oil and Gut Health
Click HERE to save these 6 good reasons for choosing olive oil for later.
![6 good reasons to choose olive oil How Long Does Infused Olive Oil Last [+ DIY Herb-Infused Olive Oil] agutsygirl.com](https://agutsygirl.com/wp-content/uploads/2020/12/6-good-reasons-to-choose-olive-oil-How-Long-Does-Infused-Olive-Oil-Last-DIY-Herb-Infused-Olive-Oil-agutsygirl.com_-683x1024.png)
For a few years, it seems like the only oil I consumed was coconut oil. I still stand by all things coconut oil, but I consume far less today.
Enter: olive oil because we do use olive oil frequently. There’s just something about that buttery regular olive oil taste I love.
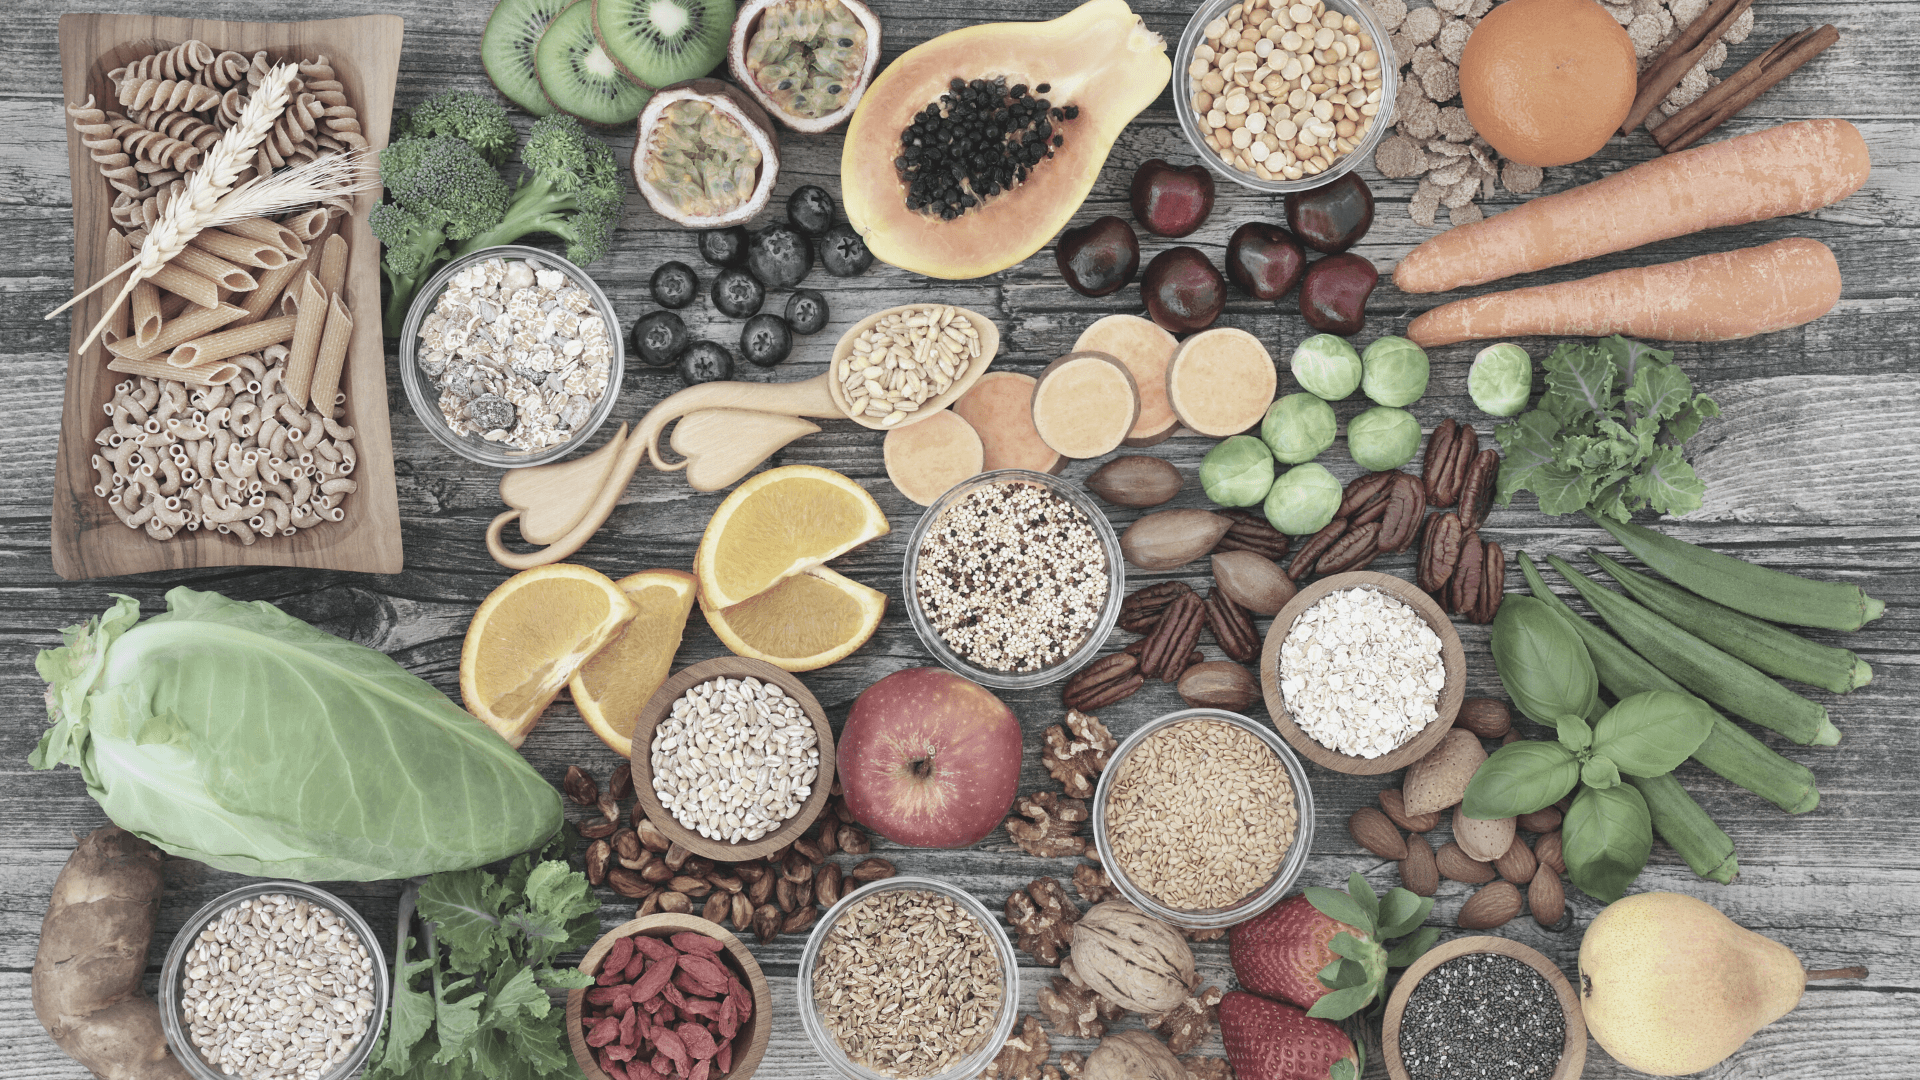
Anyways, here are 6 good reasons and health benefits for choosing olive oil:
- Research reveals that Olive Oil contains polyphenolic compounds that decrease “oxidative damage to cellular DNA” which results in “effectively decreasing promotion of colon cancer.”
- It stimulates the gallbladder, causing the release of bile, which helps digest the fats in your digestive tract.
- Olive oil is rich in iron, vitamins E and K, antioxidants, omega 3 and 6 essential fatty acids.
- Contains antibacterial properties. A study in humans suggested that 30 grams of extra virgin olive oil, taken daily, can eliminate Helicobacter pylori infection in 10–40% of people in as little as two weeks.
- Olive oils originated from various regions of the world can pose some positive effects on gut microbiota.
- Contains strong anti-inflammatory properties.
Sources: HERE, HERE, and HERE.
But like everything else that’s “good for the gut” and overall health, it’s important to note that a high quality olive oil is also important.
A Quality Olive Oil
It all starts with a high-quality olive oil.
And that’s how the whole idea for this came about in the first place.
I use a lot of olive oil in my cooking and baking these days. And I just love it.
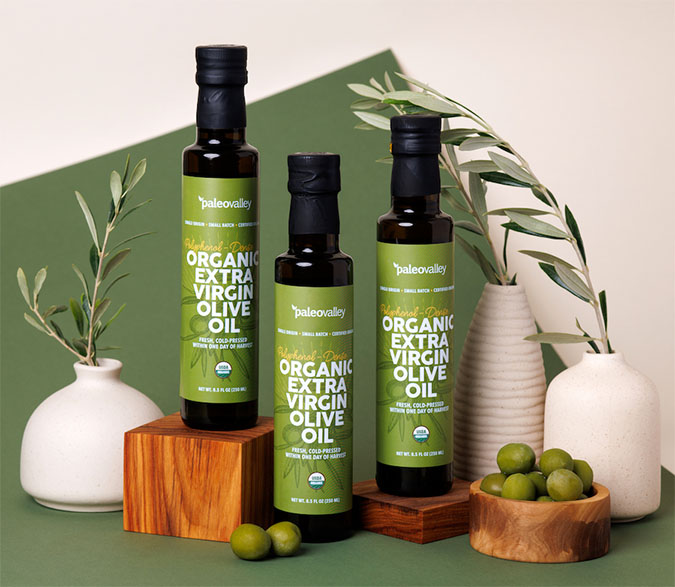
And THIS Organic Extra Virgin Organic Olive Oil I use from Paleovalley is first cold pressed and unrefined.
It also:
- is free acidity of less than 1% linolenic acid
- can be used in baking for up to 375ºF
- is a premium oil that’s perfect for a variety of dishes, hot or cold
- does not use any pesticides, herbicides or synthetic ingredients
- it’s stored in a dark glass bottle for freshness
- comes from a sustainable olive grove in Greece
- remains a star on the Mediterranean Diet (which I love for overall gut health)
Save an instant 15% off this high-quality olive oil!
My Great Idea
So one day, while staring at this beautiful bottle of olive oil, I thought,
Might as well create with it…..then gift my creation.
I was already gifting different olive oils all the time.
But now I had a really fun and good idea!
The idea was to simply infuse the olive oil (in the bottle, as-is) with fresh herbs then gift it.
So the first thing I did was understand olive oil and herb pairings.
The Best Herbs to Pair with Olive Oil
When thinking of creating the best herb-infused oil, you’ll want to make sure you’re pairing with dried herbs that make sense to pair with olive oil.
Obviously rosemary is one; we all know rosemary and olive oil are like PB&J.
But now that that’s out of the way, here is my full list:
- rosemary
- oregano
- basil
- thyme
- parsley
- cilantro
- tarragon
- sage
- mint
- dill
In addition to the individual herbs, you can also pair them as a great way to add even more versatile flavors.
Here are some herb pairing ideas to get a fresh flavor:
- rosemary and thyme
- oregano and basil
- basil, rosemary, and thyme
- oregano and sage
- rosemary and mint
- rosemary, sage, and thyme
- parsley and oregano
- tarragon and parsley
Now we are ready to create the simple DIY herb-infused olive oil.
DIY Herb-Infused Olive Oil [Bonus: Great Gift Idea]
First, there are two ways you can do this. The first, is to slightly heat (only to about 180 degrees) the olive oil and herb(s), let cool, then strain away your herbs and re-bottle in your glass jar.
If you do it that way, it will go quicker. You know, Instant Pot-ish quicker.
But because I’m trying to make this as minimal and simple for you as possible, I want to share how I do it sans-heat.
Items needed for DIY Herb-Infused Olive Oil
- 1 bottle of Organic Extra Virgin Olive Oil from Paleovalley
- herb and/or herb flavor combination (see lists above)
Okay, now let’s make this the olive oil that keeps on giving.
How to DIY Herb-Infused Olive Oil
Making homemade infused olive oils is probably the easiest thing ever.
But nonetheless, I still want to share the exact steps for how I did it:
- Place your herb and/or herbal infusions into the 8.5-ounce bottle of Organic Extra Virgin Olive Oil from Paleovalley.
- If you’re using several herbs, you might need to pour a little of the olive oil out before adding your herbs. Simply use a funnel and pour the excess into another glass container. Set that oil in a dark spot, and use when you just need your own, plain olive oil.
- If needed – see NOTES below – use citric acid.
- Then, cover the herb-infused oil tightly and place in the refrigerator.
And yes, actually that’s it.
Just call me the DIY Gutsy Martha. I won’t be mad.
Notes: because it’s not REALLY THAT easy!
- You will need about 3 tablespoons of herbs or seasonings per 1 cup of oil.
- I use fresh herbs in my concoctions BUT that’s because I cook with them. If, however, you plan to use it as a dipping sauce, then use dried herbs.
- Some ingredients need to be acidified. These include, but are not limited to: thyme, garlic, oregano, basil, thyme, and rosemary. Basically, anything that does not have an acidic component. For example, a lemon peel already contains this component. When in doubt, Google it to make sure.
- How to acidify? You’ll need to use a citric acid solution. THIS citric acid from It’s Just is best.
Let me know if you make this for yourself or as a gift.
Reminder: these aren’t good for a long time; you’ll need to gift them sooner rather than later as a week is really the longest shelf life they have. The shelf life of olive oil is far greater than when infused with dry ingredients.
Reminder: be safe! When in doubt, use citric acid. And by the way, this is the citric acid I recommend.
DIY Salad Dressing
One more thing……I’ve been in the DIY salad dressings realm for many years now.
I mean, one simple search of “homemade dressing” on this website and you’ll see a ton of ideas and what I’ve come up with over the years.
No salad dressing I’ve done has ever been very complicated. And yet, you’d be surprised at the number of times I’ve had people say to me, “Oh, combining that and that. I’ve never even thought to do it.”
What I’ve learned about a great salad dressing is that simpler is better. Less is actually more.
The way I usually DIY a salad dressing is like this:
- choose the oil (I’d advice against canola oil or vegetable oil)
- choose the “flavor”
- decide on sweet or savory
- add in any miscellaneous things
And then I place all of it in a reusable dressing jar and/or shaker (I have both), and store in a dry place until I’m ready to use it.
If you liked this post, you might also enjoy:
Xox,
SKH
🤰 bloating be gone! weight loss through optimal gut health for women
💃ʜᴇᴀʟ ʏᴏᴜʀ ɢᴜᴛ. ʜᴇᴀʟ ʏᴏᴜʀ ʟɪfe.
🫶🏻 founder gutbyome.com