
You’ve been waiting a long time for me to tell you how to make homemade Kombucha.
What is Kombucha?
What is it? A fermented tea. The end.
Kidding. (Make sure to SAVE this post for later.)
It all began one day at the gym, on the treadmill, with my friend Jen.
She asked me if I liked it. I told her that from what I remembered “not-so-much,” but that I should definitely try it again because of the naturally occurring probiotics in it. She had met a guy who told her how to do it. She bought me a 2-gallon glass container and invited me over for our first try at making it.
This was a few months back.
I have been hooked ever since.
What Does Kombucha Taste Like?
My honest opinion for what kombucha tastes like closely resembles beer. However, I have to say this with huge caution because I don’t want to scare you away in the event that you hate beer.
I cannot stand the taste of beer. And yet, I love kombucha.
It’s a sweeter version of beer with a soda-like fizz.
How I Got Started Brewing My Own
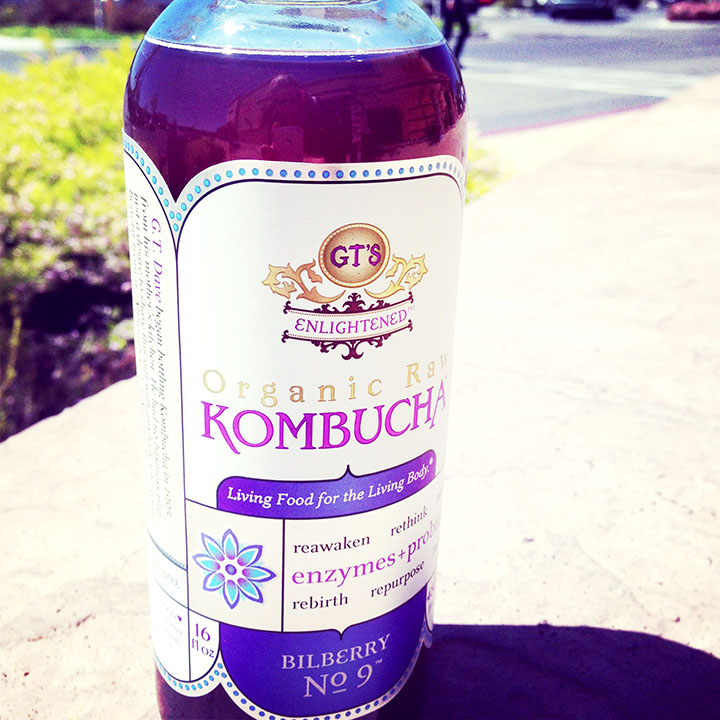
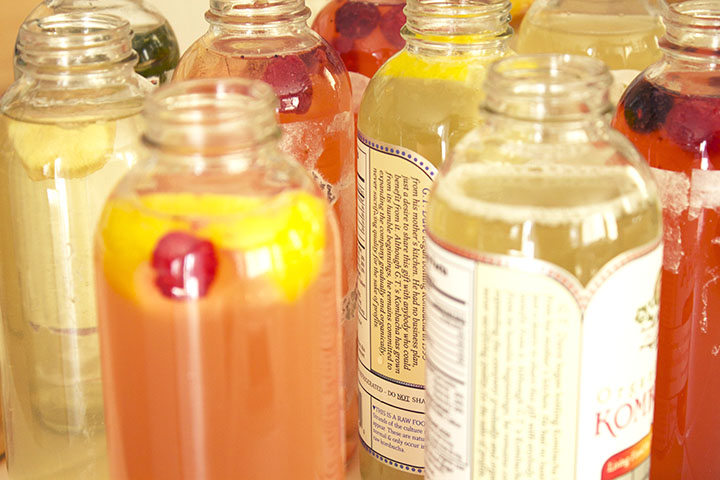
I love GT’s Kombucha.
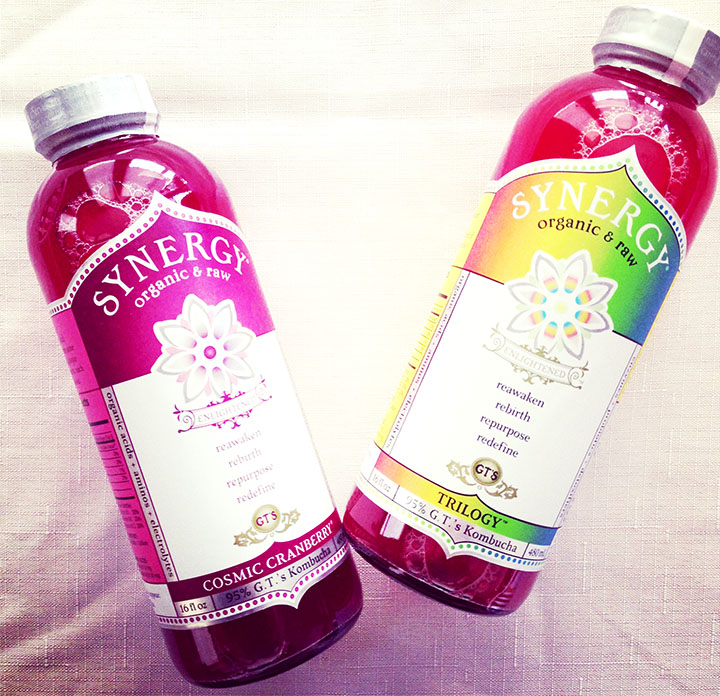
But 2 things happened that made me consider how much I buy from them:
- after sending them a ravishing lovely email, they kind of fell short (really short)
- depending on where you buy it, one little bottle is anywhere from $3-$5+
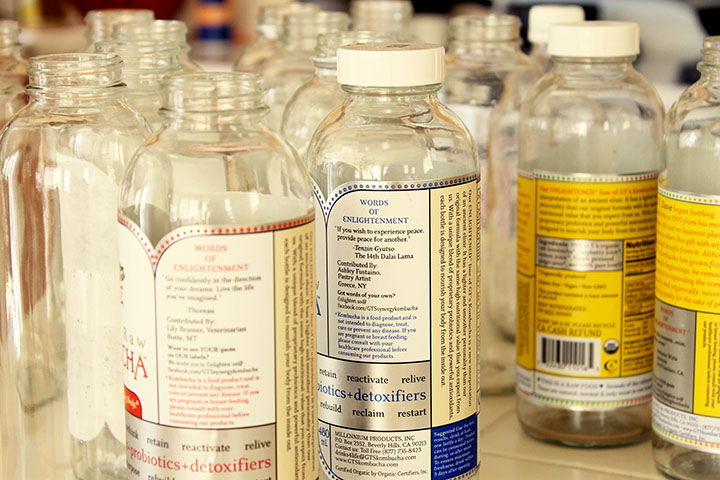
In the beginning, I continued to buy it because I’d need two of them for my “starter.” I also needed a ton of bottles to re-use at a later point.
The most important part of this information is the fact that you’ll need a ton of bottles to re-use at a later point. Once you’ve collected many, you’re ready to begin the brew cycle – your first brew cycle.
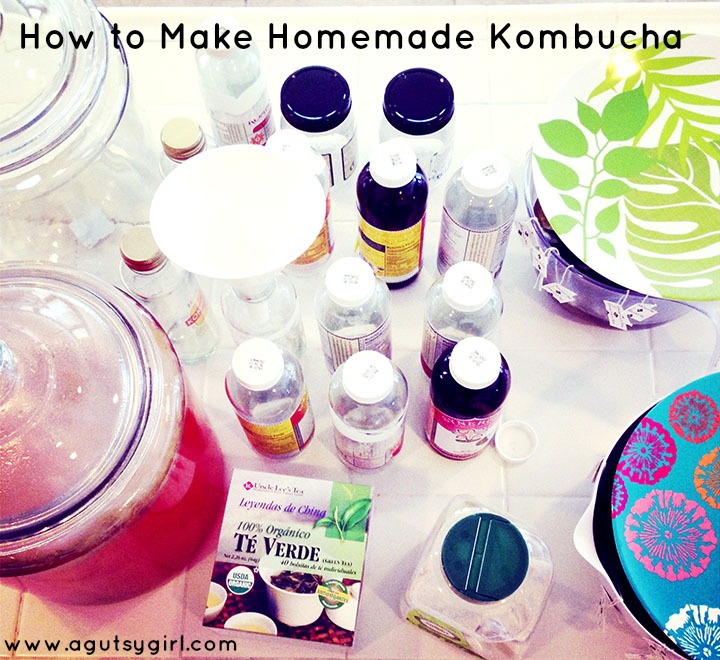
How to Make Homemade Kombucha
Click HERE to save this post for later.
The very first time (it will be different the second time you make it) you make your own kombucha, you will need the following:
- 2 bottles of pre-made Kombucha (such as GT’s) (You can also just get a Kombucha Starter Kit so you don’t have to go through this initial phase of “Mother” brewing. If you’re interested in that, see below for a starter kit option. But honestly, it’s so much cheaper – and super cool to watch – if you just grow your own “Mother” vs. using the starter kit.)
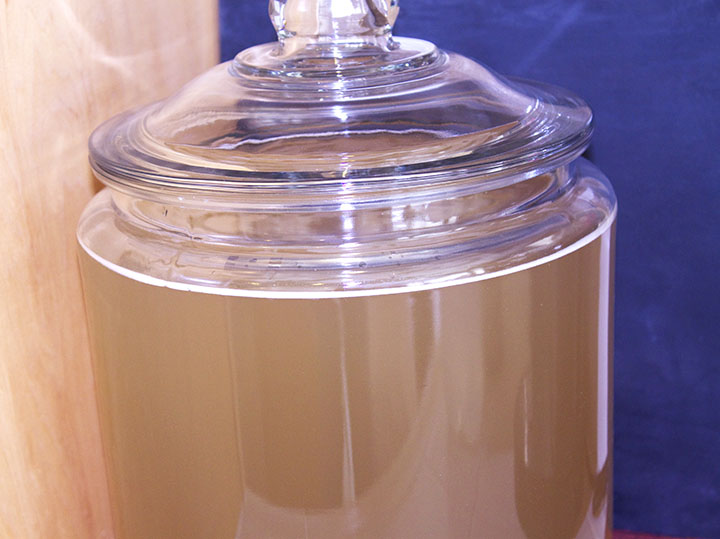
- 2-gallon glass jar
- 20 tea bags (they say to use just green or something plain and simple, but the truth is that I’ve used it all, without any problems. I will say that today I only use organic tea for my booch.)
- 5 cups sugar (again, I now use only Organic cane sugar)
The very first time (it will be different the second time you make it) you make your own kombucha, you will (again, this is what I did – that worked) follow Round 1 (below).
Kombucha Starter Kit
Per the above, you can get a kombucha starter kit.
There is actually a Kombucha Tea Starter Culture available from Thrive Market.
Here is some information about it:
Kombucha Tea Starter Culture
When you open the kit, you’ll see it—it looks a little bit like brown, dried mango. The SCOBY is important because it’s the living home for the bacteria and yeast that turns sweet tea into fizzy, probiotic-packed kombucha. Other ingredients needed to brew the kombucha sold separately.
Additionally, here are other facts about the starter:
- ingredients: Organic Sugar, Organic Black Tea, Live Active Cultures
- organic
- dairy free
- vegan
- gluten-free
Round 1
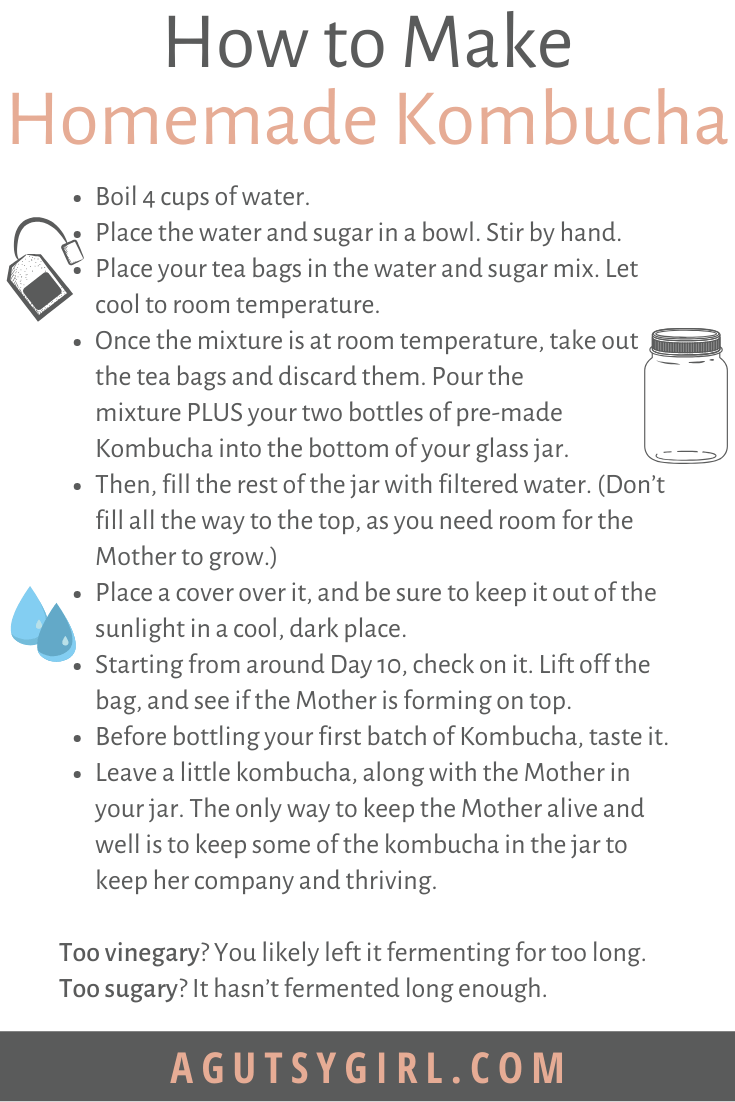
Boil 4 cups of water.
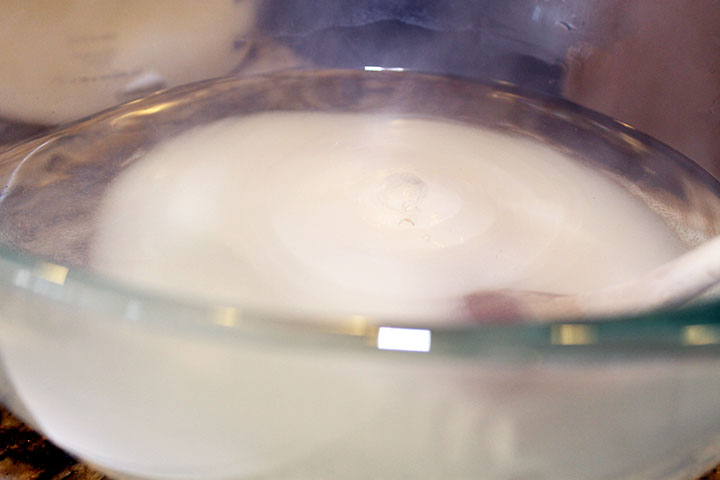
Place the water and sugar in a bowl. Stir by hand.
Place your tea bags in the water and sugar mix.
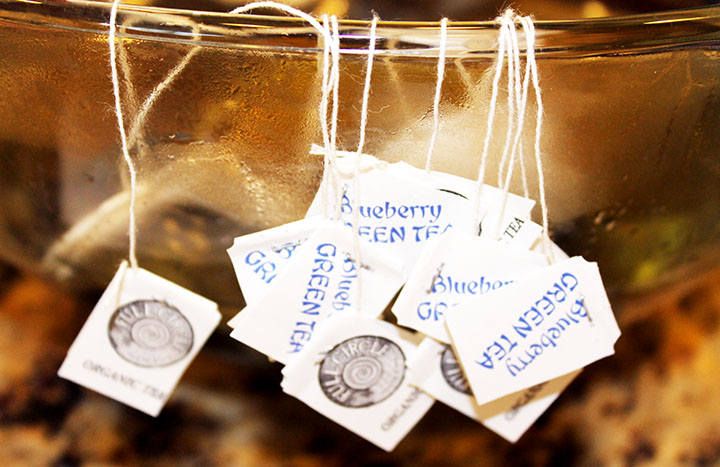
Now, let it cool to room temperature. This is very important. The tea cannot be scorching hot when you add it to the glass jar. It’s also important to note that you might need to lightly cover it with something (microwave cover?). The entire Kombucha process is a very intricate one. No outside germs, hairs, bacterias, etc. can be mixed in with it (the glass jar, etc.) or it will very likely be ruined.
Once the mixture is at room temperature, take out the tea bags and discard them. Pour the mixture PLUS your two bottles of pre-made Kombucha’s into the bottom of your glass jar.
The Mother
What this initial “base” will create is your “Mother,” which will take the place of the pre-made Kombucha for future batches.
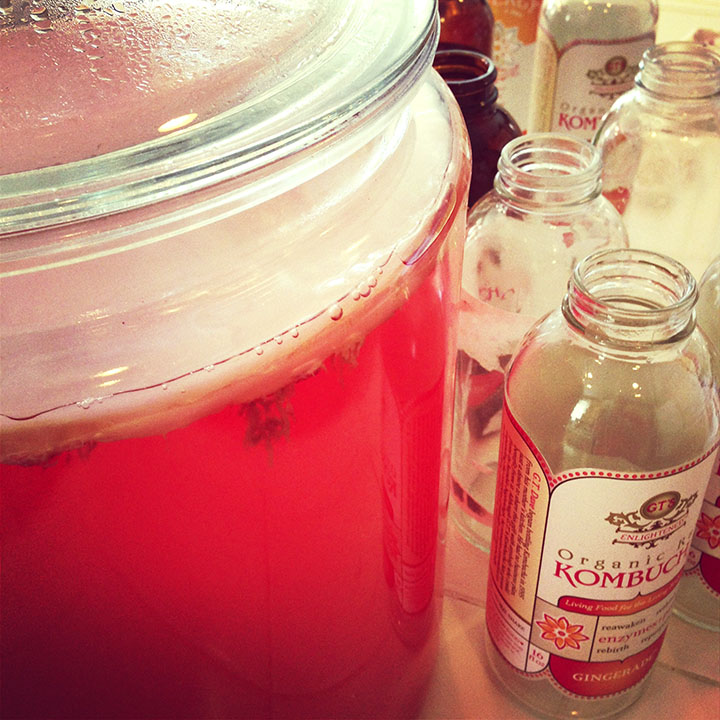
Then, fill the rest of the jar with filtered water. (Don’t fill all the way to the top, as you need room for the Mother to grow.)

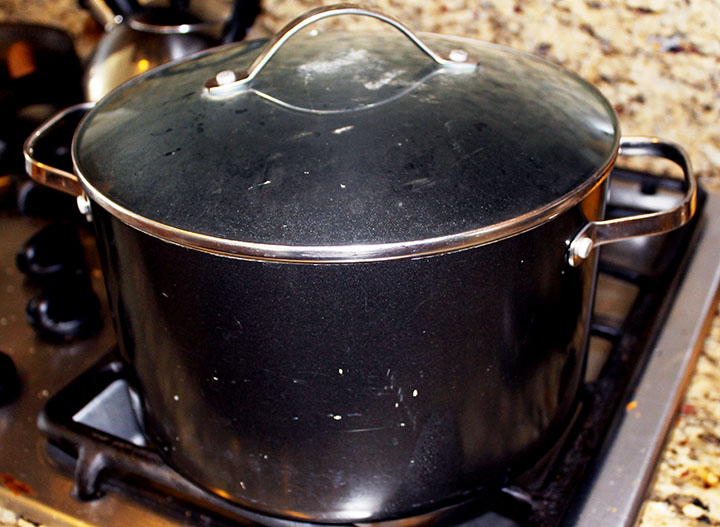
It will look clean, simple and similar to this:
Place a cover over it, and be sure to keep it out of the sunlight in a cool, dark place.
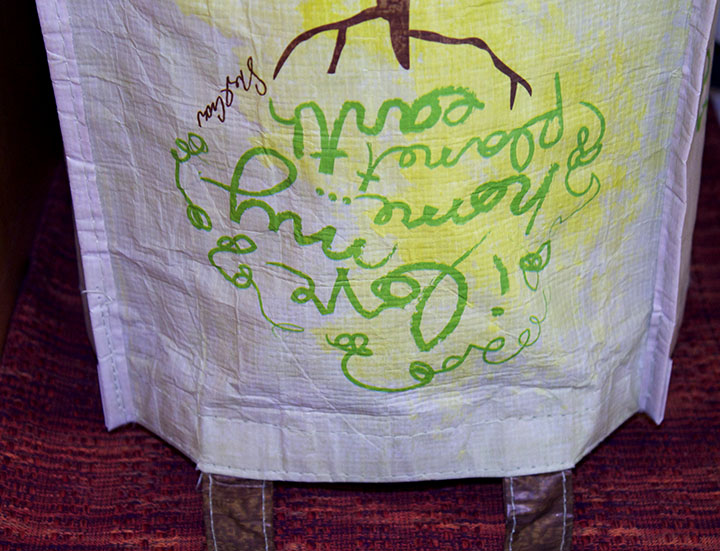
Side note: I drive my husband nuts with all these re-usable bags around the house, in my car, etc. Finally, I found another use for them. One down, seven to go….
I was originally told that my Mother and the first batch of Kombucha would be ready in 10-14 days. I can’t tell you the exact amount of days it was, but I think it was more like 3 weeks.
Starting from around Day 10, check on it. Lift off the bag, and see if the Mother is forming on top.
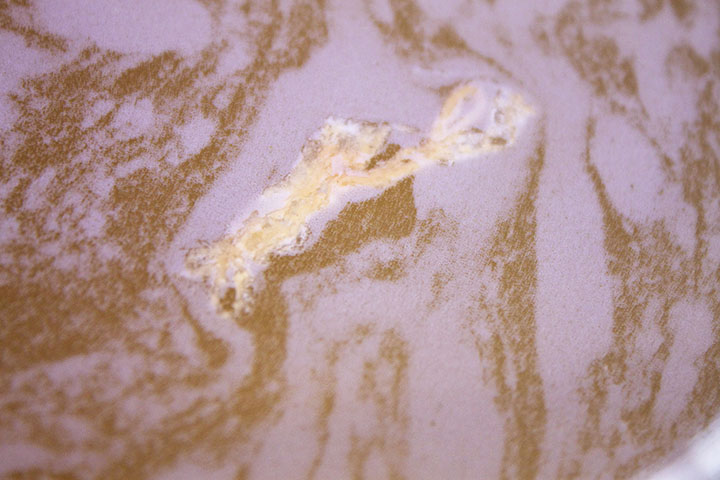
Kombucha Mold
NOTE: This is very, very important. When the first Mother is forming, you might think it looks “moldy” on top. 9 times out of 10, it’s not mold, it just hasn’t completely formed.
I thought mine was mold, so I almost threw it away. But I kept on, and it definitely was not mold.
However, if you keep on and realize it is mold, you must absolutely, positively throw it out and start over.
When you see this “blanket” on top of your Kombucha, it is likely ready.
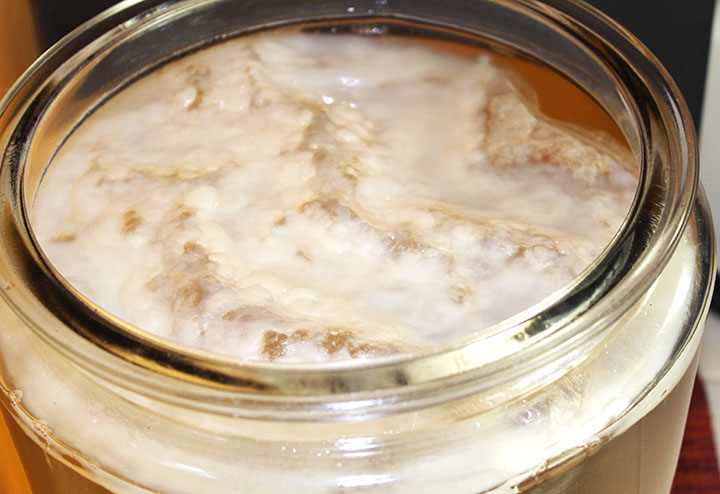
Yes, that is your Mother.
What is a Scoby?
The scoby is also known as “the mother.”
It’s your “mushroom.” Technically speaking, it’s a SCOBY (Symbiotic Colony Of Bacteria and Yeast).
This is your pride and joy for making homemade Kombucha. Treat it with care.
Taste Test
Before bottling your first batch of Kombucha, taste it.
Do not touch with your hands or double-dip. Use a straw or turkey baster (ha…true, I used that) to grab some of the juice.
Taste.
You are likely tasting one of two things:
- Too vinegary? You likely left it fermenting for too long. (Tip: You can use this for homemade vinegar, though….I’m a homemaking mess of awesome!)
- Too sugary? It hasn’t fermented long enough. (Tip: If this is the case, and you have IBS or IBD, you really should let it ferment longer because the last thing you need is to be drinking a ton of sugary beverage.)
Once it’s ready, line up your bottles.
Again, make sure everything around you is clean and sterile while you do this.
You need to be sure you have screw-top bottles (like the GT ones) so that the built-up pressure can’t make them explode 🙂
I place a funnel on top of a bottle, and I dip a cup into the Kombucha, filling jar-by-jar.
Best Kombucha
I don’t fill them all the way because I like to flavor mine. I think the best kombucha has some sort of flavor.
If you really prefer no flavor, then you don’t need to add anything once the brewing process is done.
But if you do, then here is how to add flavoring to your kombucha.
Kombucha Flavors: How to Add Flavoring
Flavoring is simple, too. Just take pieces of whatever “flavor” you desire, and place in the bottles with Kombucha (you don’t flavor until after you have bottled).
Some of my current flavor favorites include peach, mango, and ginger. I’ve been overdosing on the ginger ones.
At this point, take your bottles and place them back in a cool, dark place for about 10 more days to continue fermenting (again, make sure to check on taste, etc.).
Once they are fully ready, place in the fridge and enjoy at your convenience!
{Note: Be very careful when popping off the tops. Fizz could explode everywhere.}
Leave a little kombucha, along with the Mother in your jar. The only way to keep the Mother alive and well is to keep some of the kombucha in the jar to keep her company and thriving.

Kombucha Second Fermentation
Round 2
Everything is the same for round 2, the kombucha second fermentation, except you no longer need the 2 bottles of pre-made Kombucha to get you going.
Why?
Because that mixture = that beautiful Mother you just produced.
Once you get to the 3rd, 4th and beyond rounds, then you will have “Babies.” If you notice in my picture above, I have not one, but two, 2-gallon glass jars. This past weekend I hit my breaking point of huge-ish Kombucha production. Yehawwwww:) And with that, I needed another glass jar. I separated “Babies” from Mother. One jar now contains the Mother. The other jar, Babies.
I won’t continue buying more jars. Eventually, I’ll just need to throw away some of the Babies (or give away, or sell). People are always wanting these Babies. I don’t blame ’em.
The Reality with Making Homemade Kombucha
It might seem like a lot of work. It isn’t. At all.
It might gross you out when you see things like this floating on top of your Kombucha.
Probiotics. Natural and nice to the gut.
Listen, the extra-hanging globs might also scare you.
But again, probiotics.
You’ll need to get over that.
I crave it now.
And you know what? I used to spend $3-5 on a bottle of Kombucha.
However, I can now brew about 14-18 bottles of my own for the same or less.
Wild. And awesome. And beautiful. And…..yeah, good for the gut.
Now, my work here is done so go and make yourself some kombucha.
Questions? Leave ’em in the comments below.
Kombucha Brands
But similar to the bone broth, not everyone wants to make their own booch. And because I understand that, I have put together a massive kombucha brands guide for you.
Grab A Gutsy Girl’s Master Kombucha Guide HERE.
If you liked this post, you might also enjoy:
Xox,
SKH
🤰 bloating be gone! weight loss through optimal gut health for women
💃ʜᴇᴀʟ ʏᴏᴜʀ ɢᴜᴛ. ʜᴇᴀʟ ʏᴏᴜʀ ʟɪfe.
🫶🏻 founder gutbyome.com


Hi! Thank you so much for clarifying this process for me! I have tried to make my own kombucha in the past, but it did not work out. It was too sugary and did not have any fizz. I will follow this guide and let you know how it works out. I was just creating a blog on the health benefits of kombucha when I saw this pop up – serendipity at its finest 🙂 I love it, I crave it and now I can afford it!
Blessings,
Heather
Awesome! Yeah, there are so many other things I could blog on, as they relate to Kombucha. But clearly, this was exhaustive enough:) Good luck…have fun.
First, THANK YOU for this! The pics are perfect. I’ve been wanting to start a batch and this is an incredibly helpful overview. I just have one question (more on Kombucha than the process)…do you have sensitivities to yeast? I’m extremely yeast-sensitive and wondering if Kombucha isn’t the right way to go given your last comment. Would love to know your POV. Thanks again!
Hi Dana! Yeah, this is one of those topics that I was referring to should be an entire blog post. I have never been tested for bacterial overgrowth or problems with yeast, so the truth is that I don’t know. Here is what I do know: if you are extremely sensitive to yeast, I’d proceed with caution. My gut is still really healing and definitely leaky (I have Colitis), so I’ve noticed that anything more than 16 ounces at a time doesn’t work for me. Days my gut feels off, I only have 4 ounces. Perhaps you should try to heal as much as you can AND THEN give it a shot. I’d hate to see the fermented tea continue to feed the bad bacteria in your gut. Regardless, all my best!
Awesome! Thank you for this! I’ve been wanting to make it… as soon as we’re all moved in and settled, this is at the top of my list!
Good luck…let me know how it goes!
I really REALLY need to do this. I keep meaning to! You make it look pretty easy…
Totally easy. You just need to have a little extra room.
I just started my first batch of ‘bucha last week & I am amazed!! Started with 4oz a day in the PM, now up to 4oz twice a day. I ferment as long as I can stand- then second ferment with lots of fresh ginger. It helps my tummy better than anything else!! Love your post & shared it on Facebook today. I have 6 friends who already want scobys! Keep up the great work- thank you from my guts!
Hey Morgan! I LOVE this comment….you are so right on the quantities, too. I am excited for your guts. Thank you for sharing. Let me know if you come up with some wild and awesome flavor:)
this is awesome – i’d love to make my own!
I’ve read a lot that they have changed commercial Kombucha so you can’t grow from it anymore.
I love the GT drinks with chia in them. Have you tried that yet!
Nope, because like I mentioned, I’m kind of over trying new GT’s products:)
Wow! that doesn’t seem all that hard– i might have to try this out! 😉
Not hard at all…give it a try! Ooopppsss…about to go grab some now!
Question! I just finished my first batch. Do you have to use the mother again right away, or is there a way to store it if you’re not quite ready to launch your next batch immediately?
Hey Larry! So if you’re not ready to use it again, just leave the Mother in the jar, along with enough Kombucha to cover it. This way, the Mother continues to be “fed” and won’t die off. I leave it there until I’m ready to brew again, and then I begin the process all over. Hope you’re loving it!
Hi,
I have a bottle of GT KOMBUCHA THAT WAS NEVER OPENED FROM THE YEAR 2010. Do you think I can use it along with my mother scoby to make my kombucha? I don’t want to just throw it away. I opened the bottle and it fizzed all over so I know it is alive!
Thanks, Deniise
Hey Deniise! As long as that’s what the bottle expiration date says, you should be fine:) Enjoy!
The bottle says 2010 not 2014! It wasn’t opened until this am. Deniise
Hello,
I wondered if you thought a GT KOMBUCHA I FOUND IN MY FRIDGE WOULD WORK AS A STARTER. I opened it in the sink and it fixed big time. The dat on it was 2010, so what do you think?
Deniise
I wouldn’t. Too expired. Just grab a couple new bottles:)
Not sure if you meant 5 cups of sugar or something else?
Sorry, yes…5 cups of sugar BUT….I need to change this down to 2-3 cups:) Enjoy.