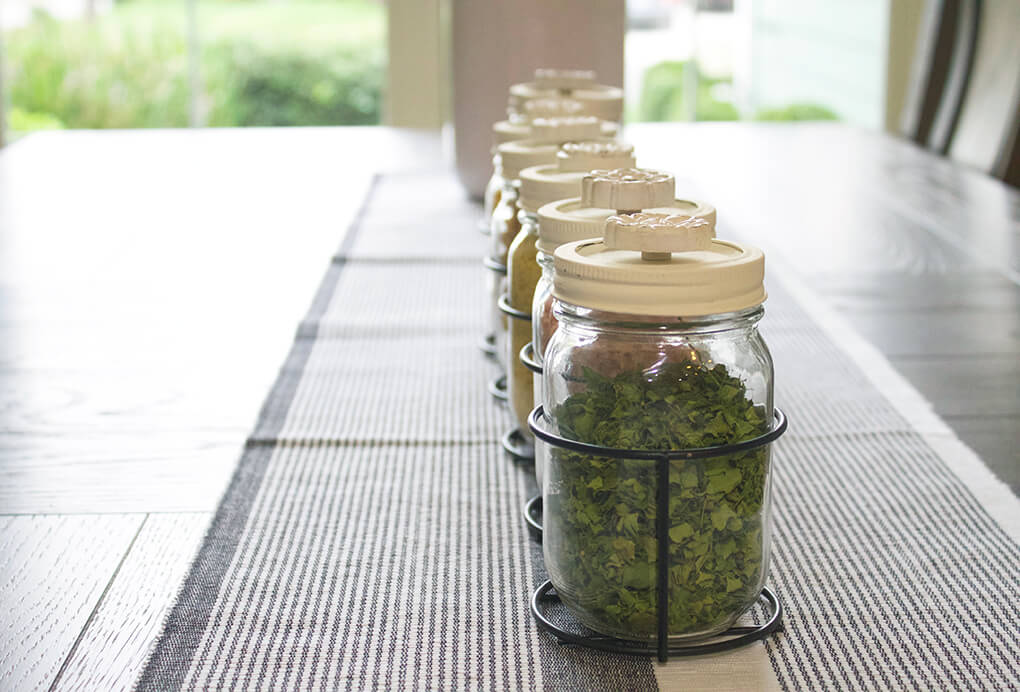
I am love, love, loving this journey of making our house a home. And today I want to share with you how to make my DIY mason jar table centerpieces.
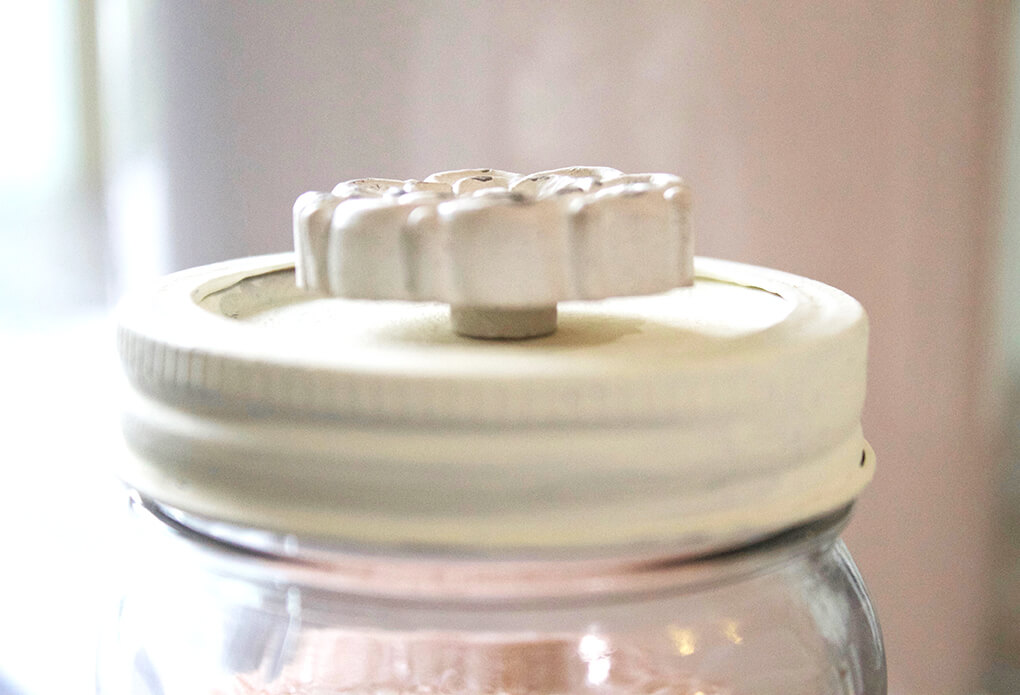
During dinner one night, I unscrewed the Himalayan Salt Mason Jar lid, grabbed a few pinches, threw it over my meal and then re-capped the lid. When I was finished, Ryan commented, “Why don’t you put this up on your blog?”
“What do you mean?” I replied.
He said, “How and what you put in these jars, and why you do it. I don’t think it’s something everyone does or would think to do.”
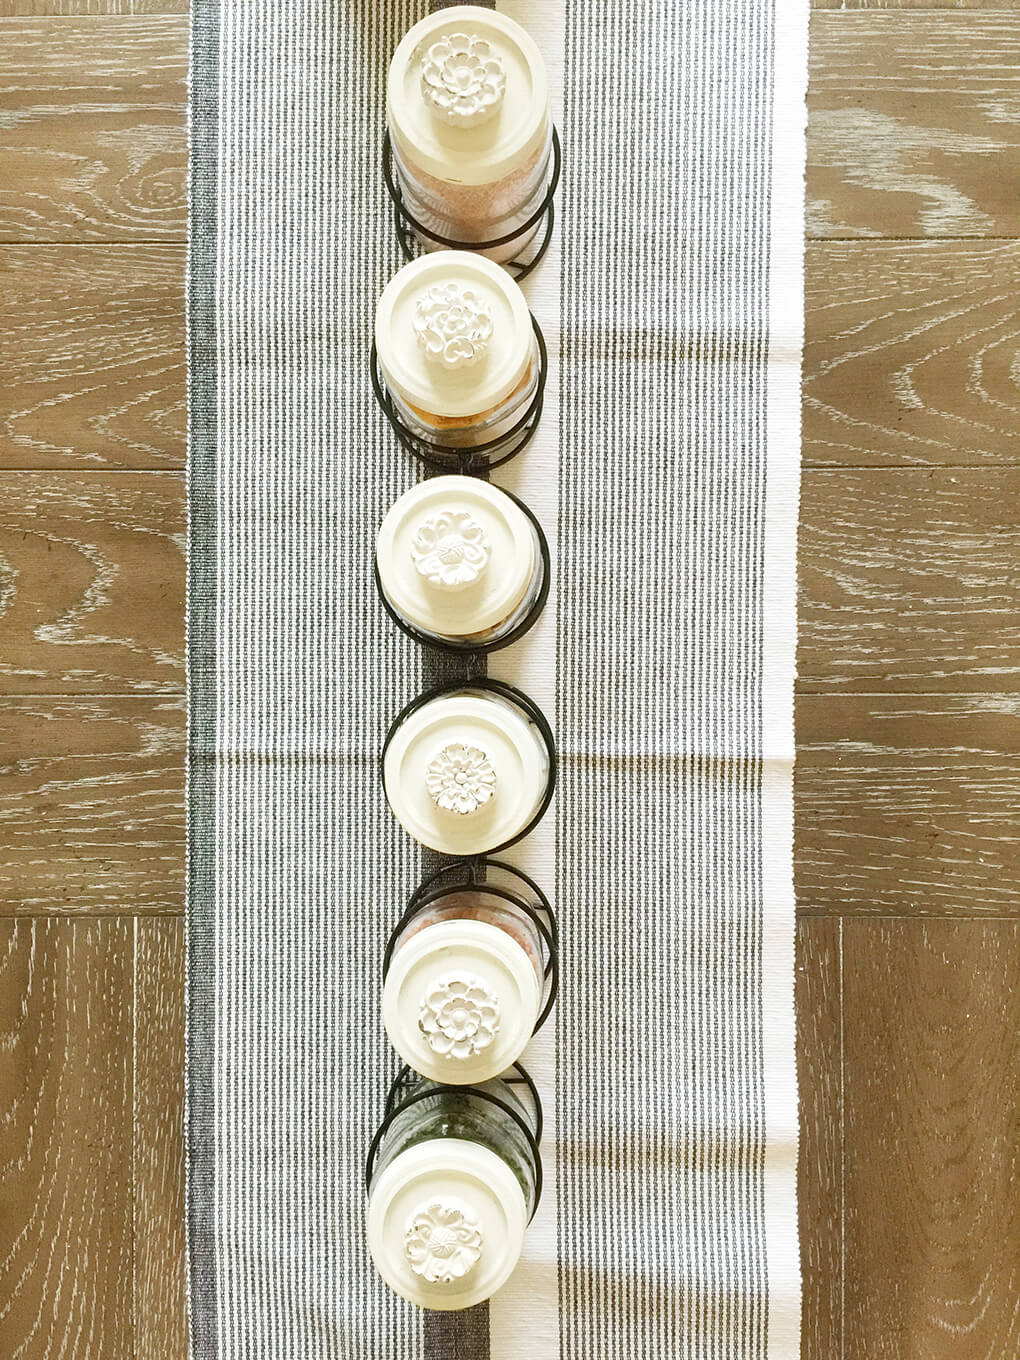
Maybe it’s just me, but I thought this was common – that everyone thinks to entertain function meeting fashion.
But just in case you don’t, I decided to heed Ryan’s advice(seriously, wife of the month) and share with you what I did.
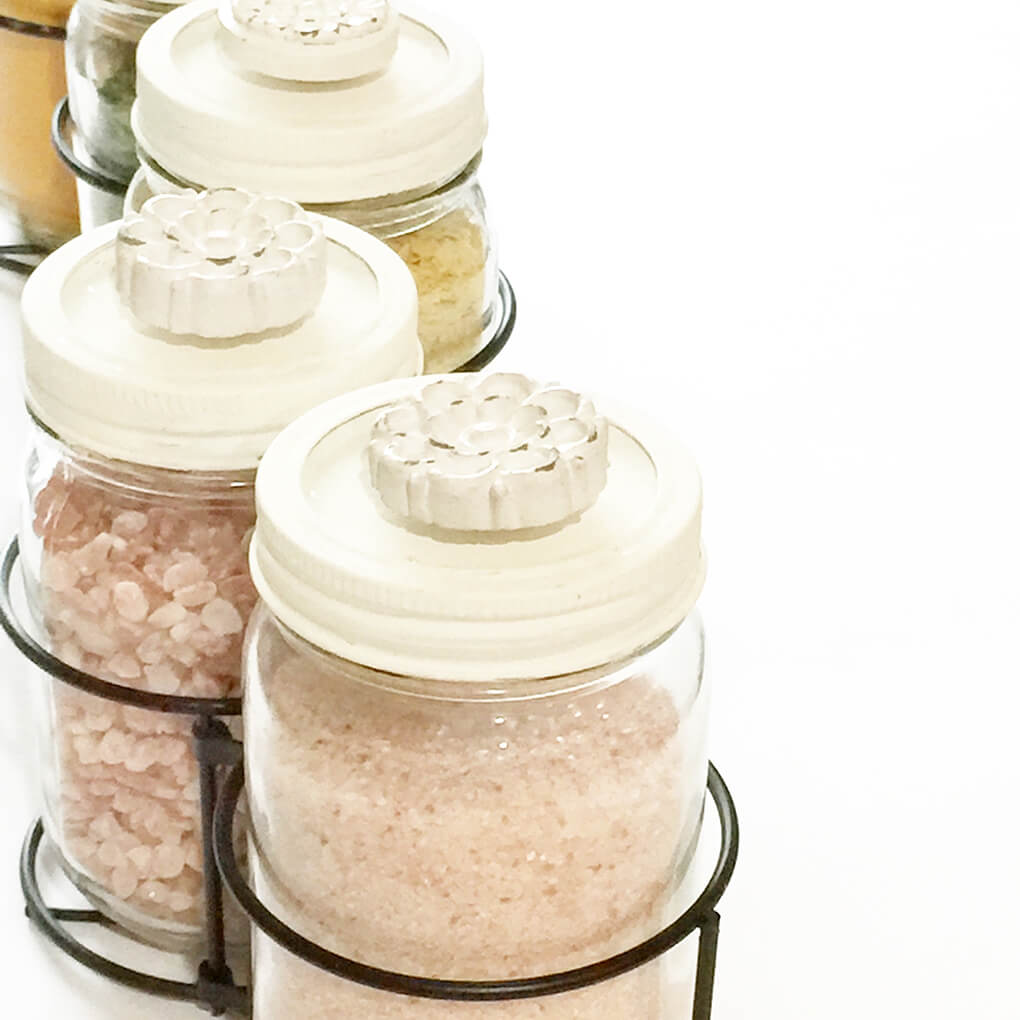
Set of 6 Mason Jars in a Holder
Click HERE to save this post for later.
Last fall, my mother-in-law sent me the set of 6 Mason Jars (with no lid) in the black-framed holder. It was for fall, so along with it came rocks, flowers and other fall table decorations. We enjoyed it all season long.
Once the holidays came, I swapped the fall decorations for miniature Christmas trees and ornaments. And we enjoyed that all season long as well.
But after the holidays, I got really obsessed – um, excited – about turning this city farmhouse into a home, with as much farmhouse style and inspiration as possible. And yet, when it comes to the kitchen, I am very practical and do the best I can with having fashion meet function.
How many times have you sat down for a meal and almost immediately after had to get back up because you forgot the salt? Right?!
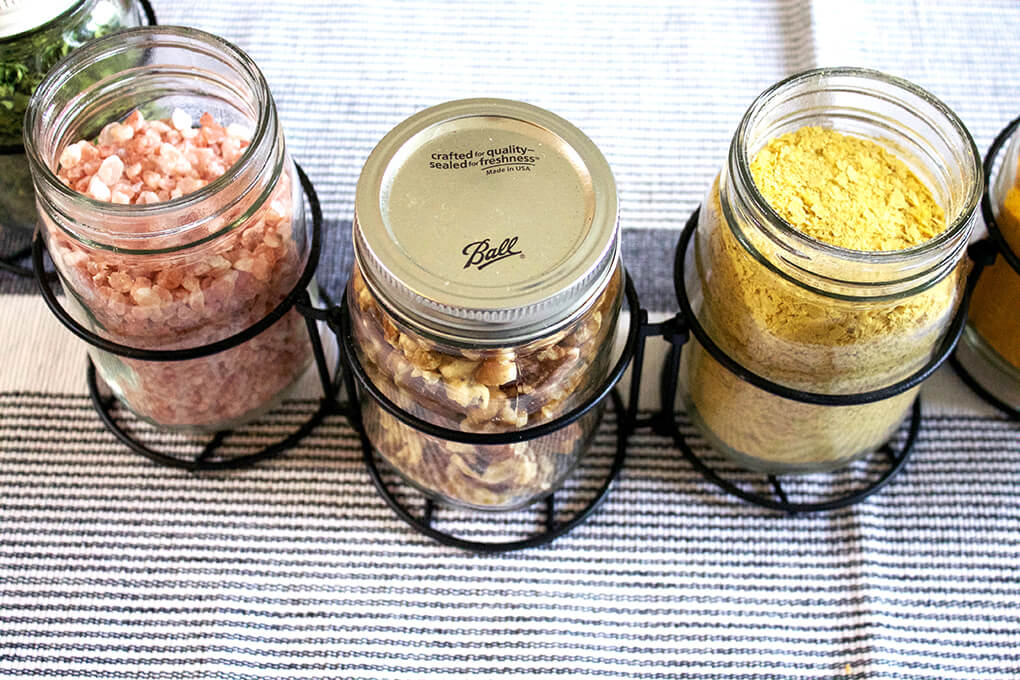
So that was the first thing I did….placed my Himalayan Salt into a Mason Jar, and over the course of planning for ultimate SIBO healing, added some other crucial things. This is what is in each of my 6 jars currently:
- Himalayan Salt, fine
- Himalayan Salt, full
- Moringa
- Turmeric
- Raw Walnuts
- Nutritional Yeast
Making them Pretty
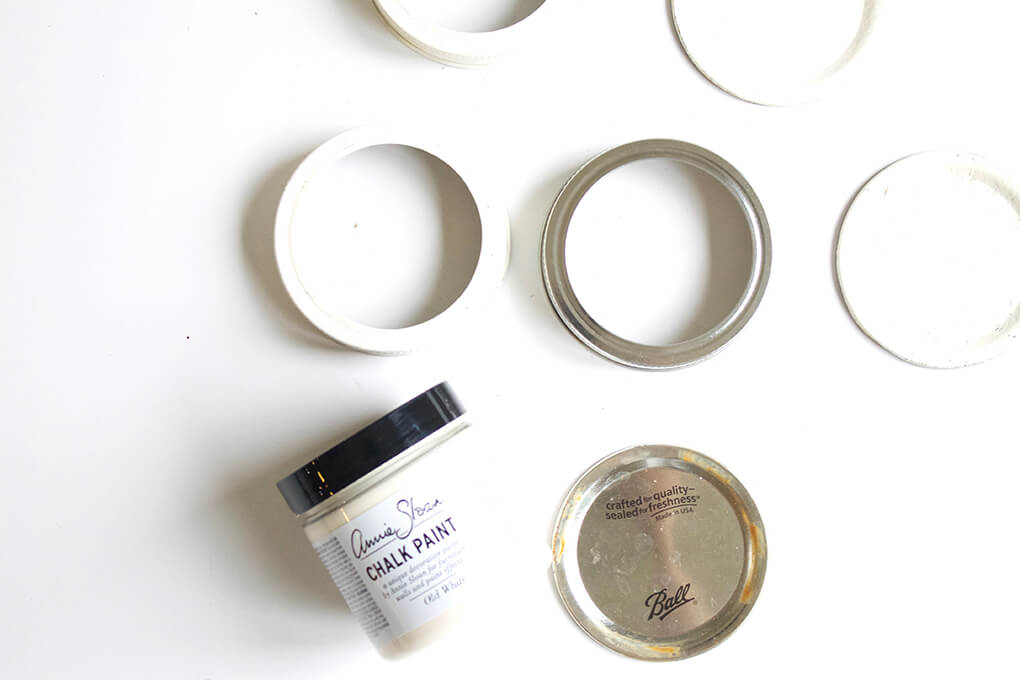
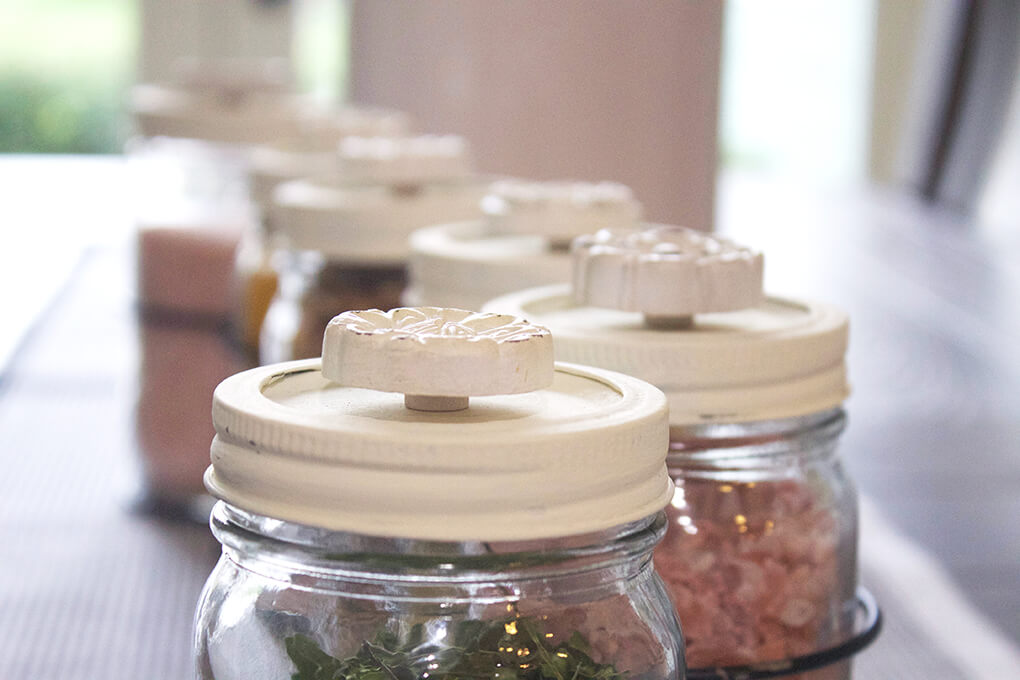
The Mason Jars my mother-in-law sent didn’t have lids, so I used my own lids, but shortly after, I thought they looked ugly, dull and boring. To transform the lids I did two simple steps:
- Painted them in Annie Sloan’s Old White Chalk Paint
- Topped them with little flower magnets I got from Michaels (look in the aisle right now that has Mason Jars + decorations for them)
You only need minimal paint, and the magnets were $1.99/each. This project can easily be done on the cheap.
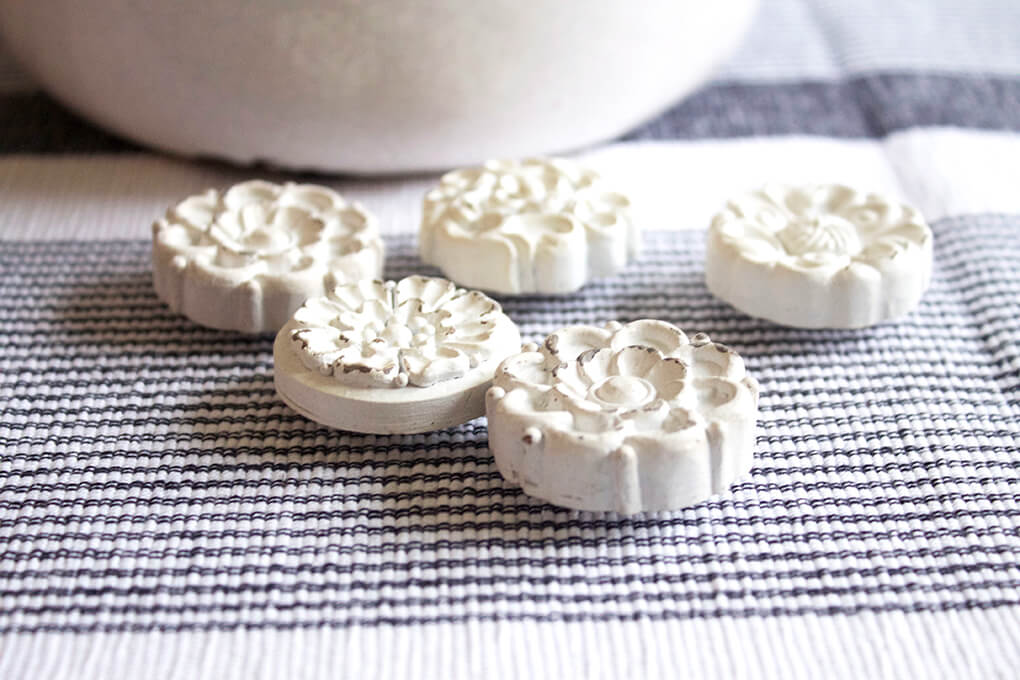
DIY Mason Jar Table Centerpieces: Function Meets Fashion
Once the paint has dried, and the flowers attached, you can place the lid back on each jar and they are done!
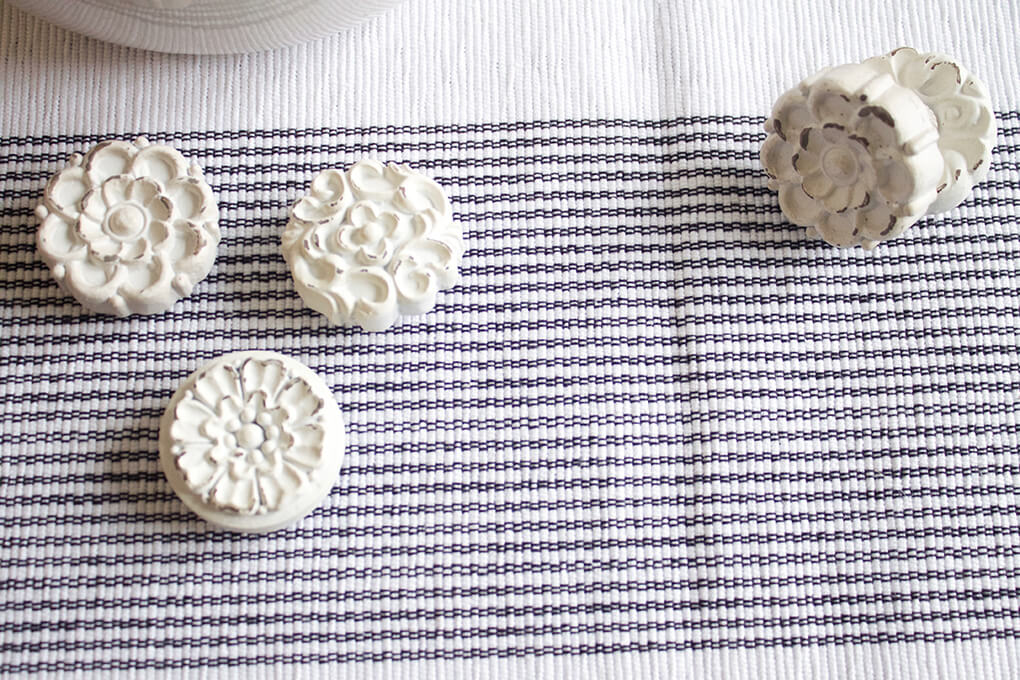
The table is now perfectly set for function meeting fashion, a farmhouse fashion of sorts.
I smile when I see my table because the table itself rocks, the food we eat on it rocks and now my centerpieces are helping make it even more complete.
I can’t wait to show you that entire room (once the farmhouse China hutch is done)!
Xox,
SKH
Other Projects You Might Enjoy
- DIY Farmhouse Crate Bed for Puppy
- Making Our House a Home
- How to Make a Happiness Jar
- A Simple Toddler Room
🤰 bloating be gone! weight loss through optimal gut health for women
💃ʜᴇᴀʟ ʏᴏᴜʀ ɢᴜᴛ. ʜᴇᴀʟ ʏᴏᴜʀ ʟɪfe.
🫶🏻 founder gutbyome.com


![Gluten Free Lemon Chicken Recipe [Slow Cooker]](https://agutsygirl.com/wp-content/uploads/2022/12/drummies-featured.png)

6 Comments